A Cyanotype is a photographic printing process discovered in 1842 by J. Herschel (mathematician, astronomer and chemist among others) and then brought to photography by Anna Atkins. Although it isn’t a very convenient process (the image fades with time), it is still used as a creative way of exploring photography and all its possibilities. Results depend on precision, light and original image. Quality of the final print is subject to each individual’s opinion.
This is an example I did recently. In my opinion it looks a bit dark but contrast is a matter of trial and error and it could be modified.
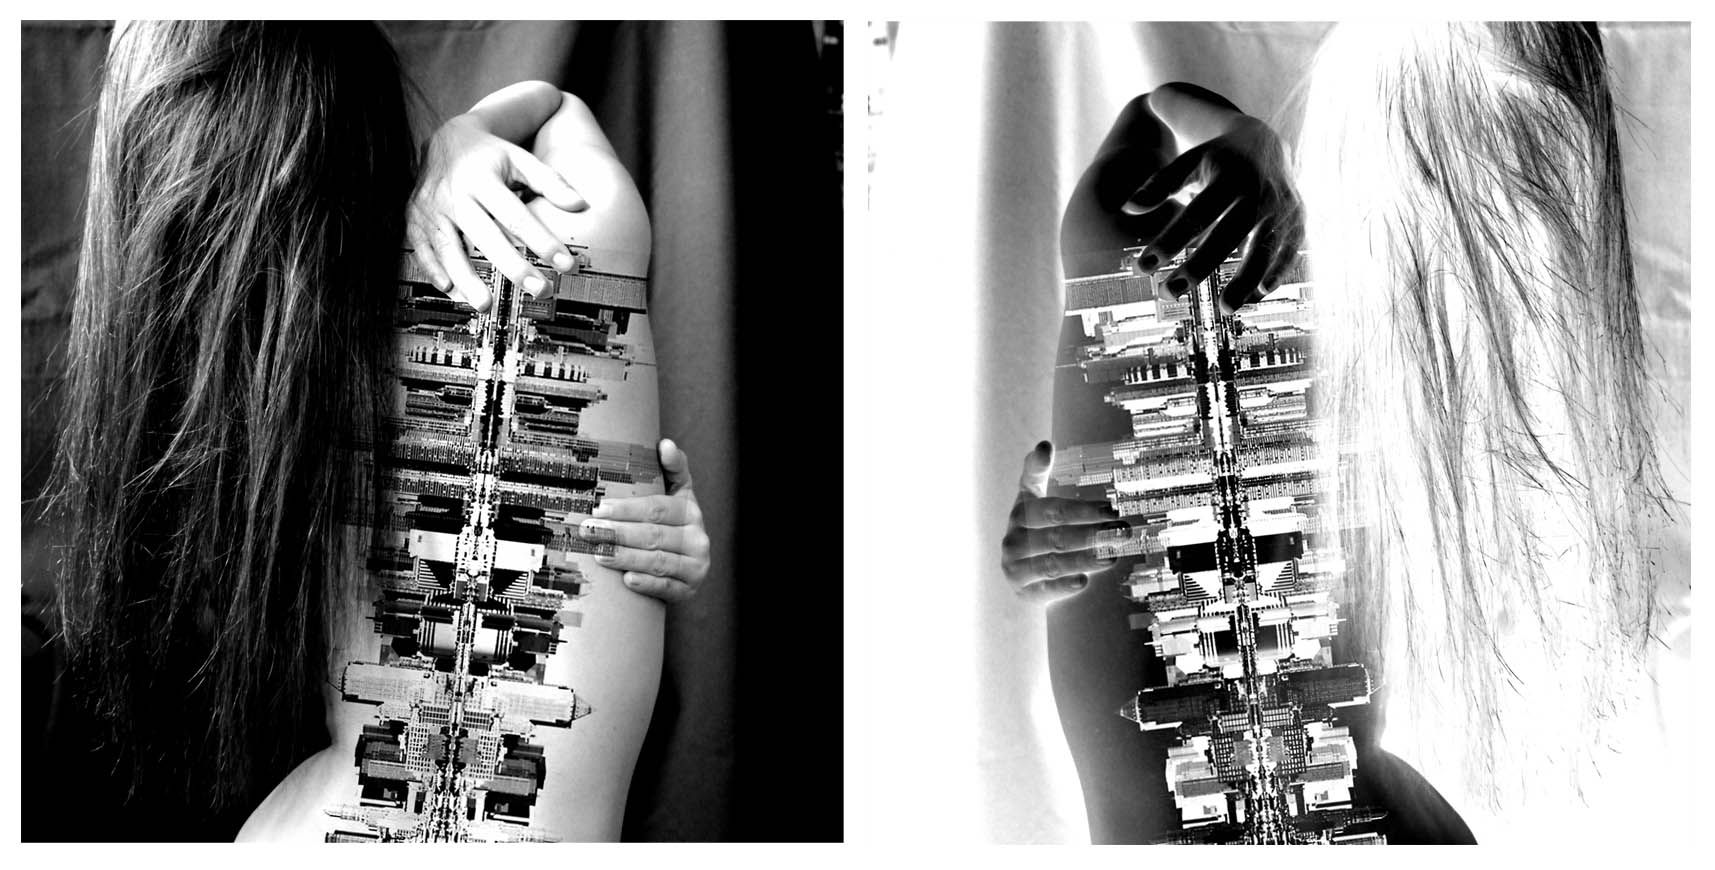
What are your impressions of the photography? What do you interpret? After seeing the print twice, what do you think would be an appropriate title?
Don’t miss 12 Cool Cement and Concrete DIY Designs
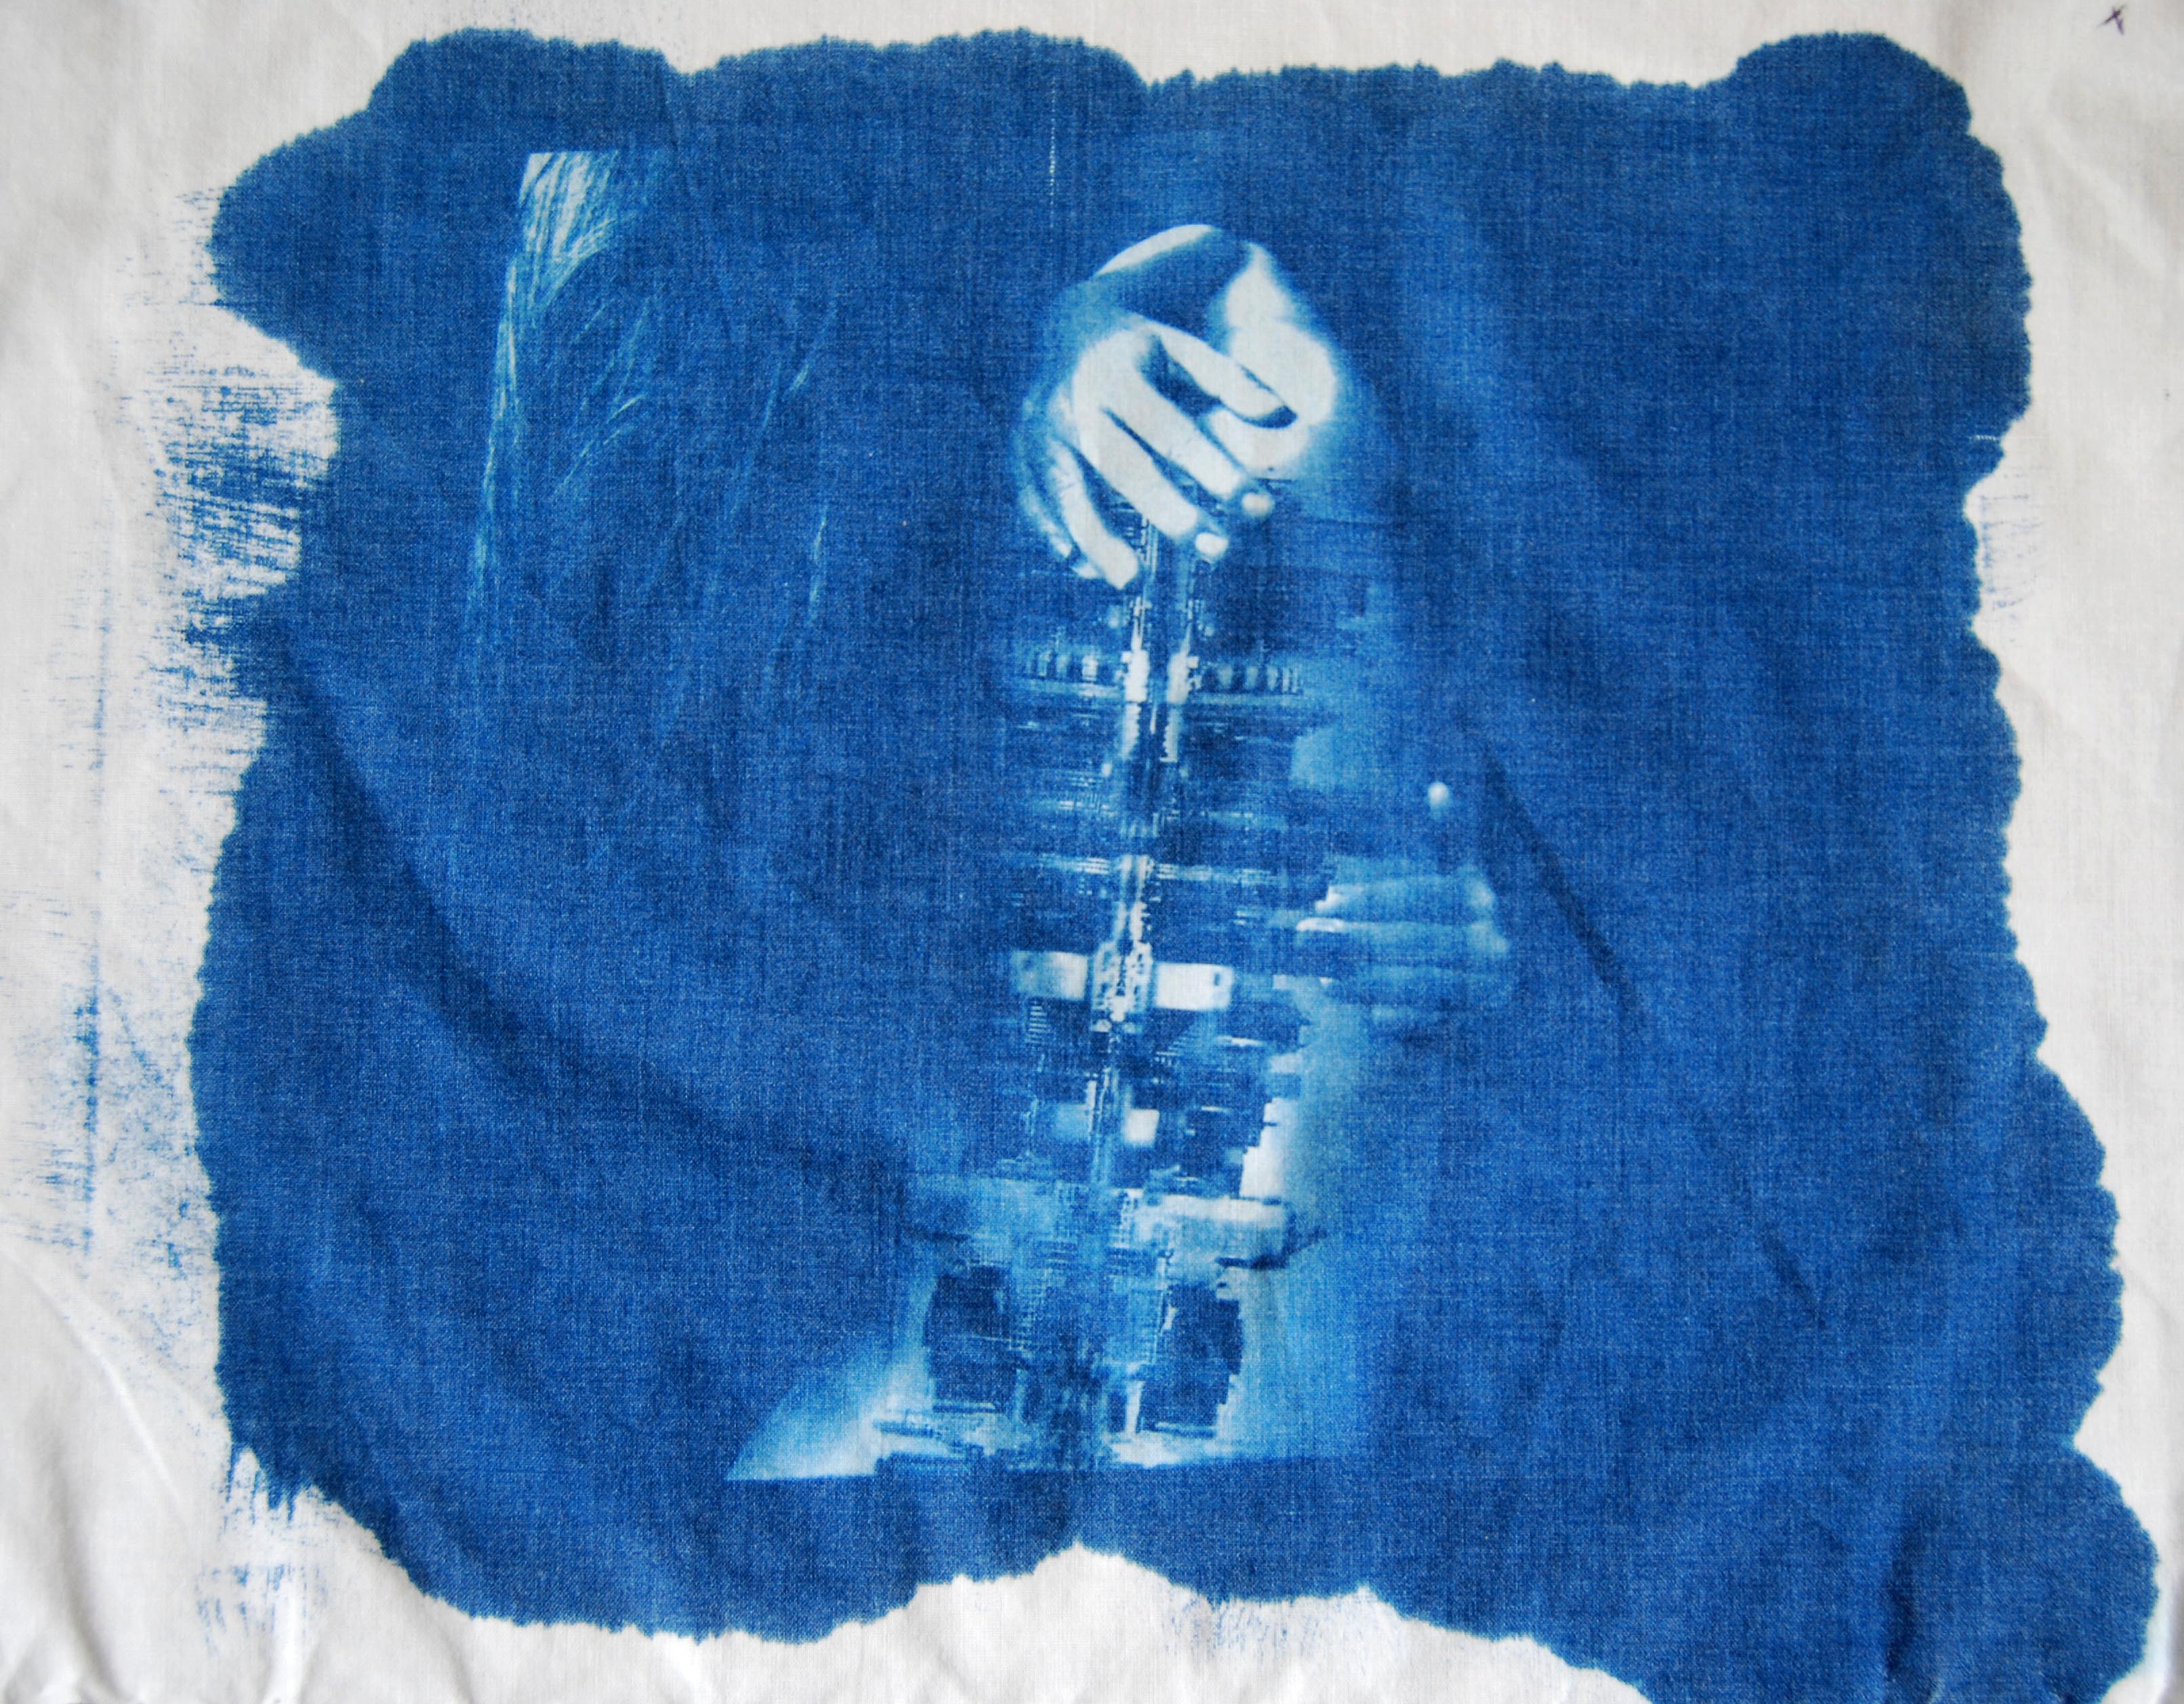 21×29 cm
Cyanotype on fabric
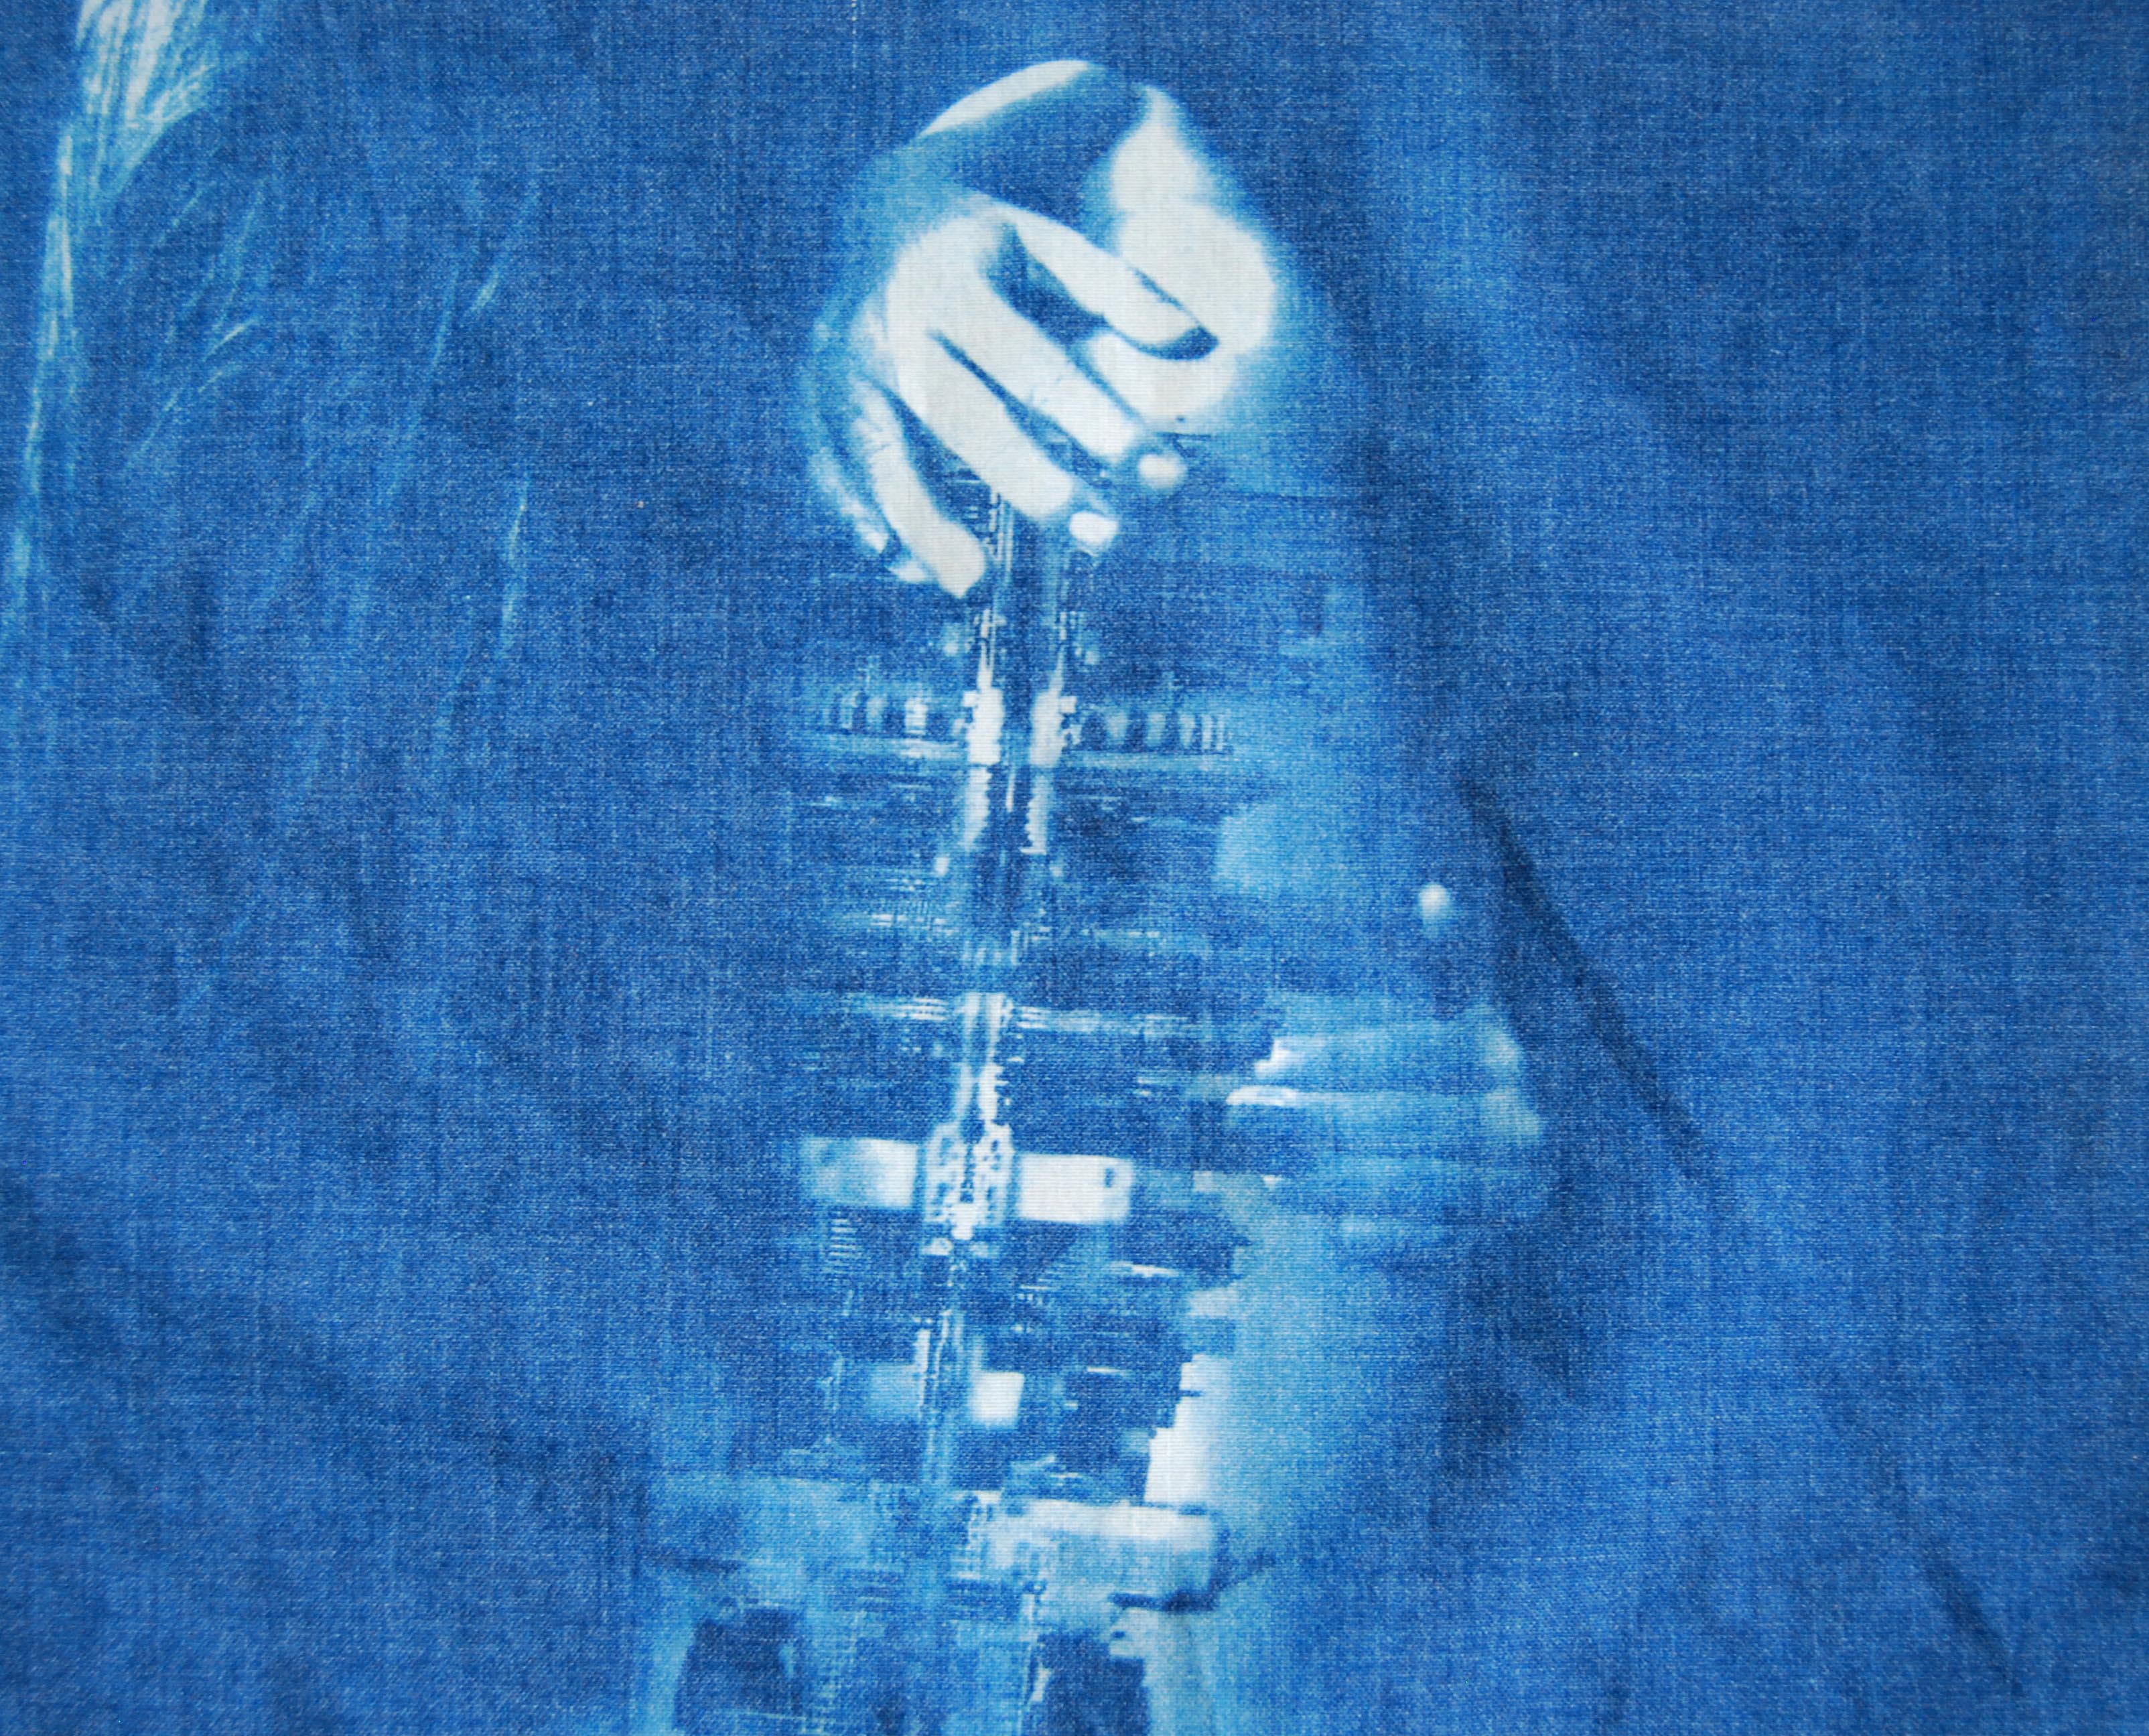 Detail
This is the process I followed to make the cyanotypes.
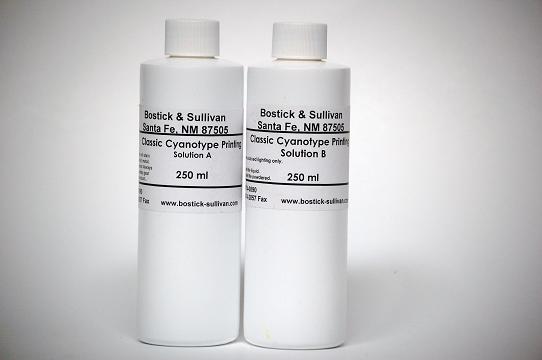
1. What you’ll need:
– Classic Blueprint formula: Solution A + Solution B (potassium ferricyanide + ferric ammonium citrate)
– Two eye droppers (chemicals MUST NOT get together)
– Thick brush for application
– A wide and not very deep container to mix the chemicals.
– Disposable gloves for sensitive skin
– Piece of fabric, paper or any absorbent material where you want your final print to be
– Acetate paper (at least one for each print)
– A plastic box the size of the print
– A red light to minimize UV exposition
– (optional) a glass, chipboard (or such the size of the print to keep the acetate paper and the fabric toghether
– Tweezers (4)
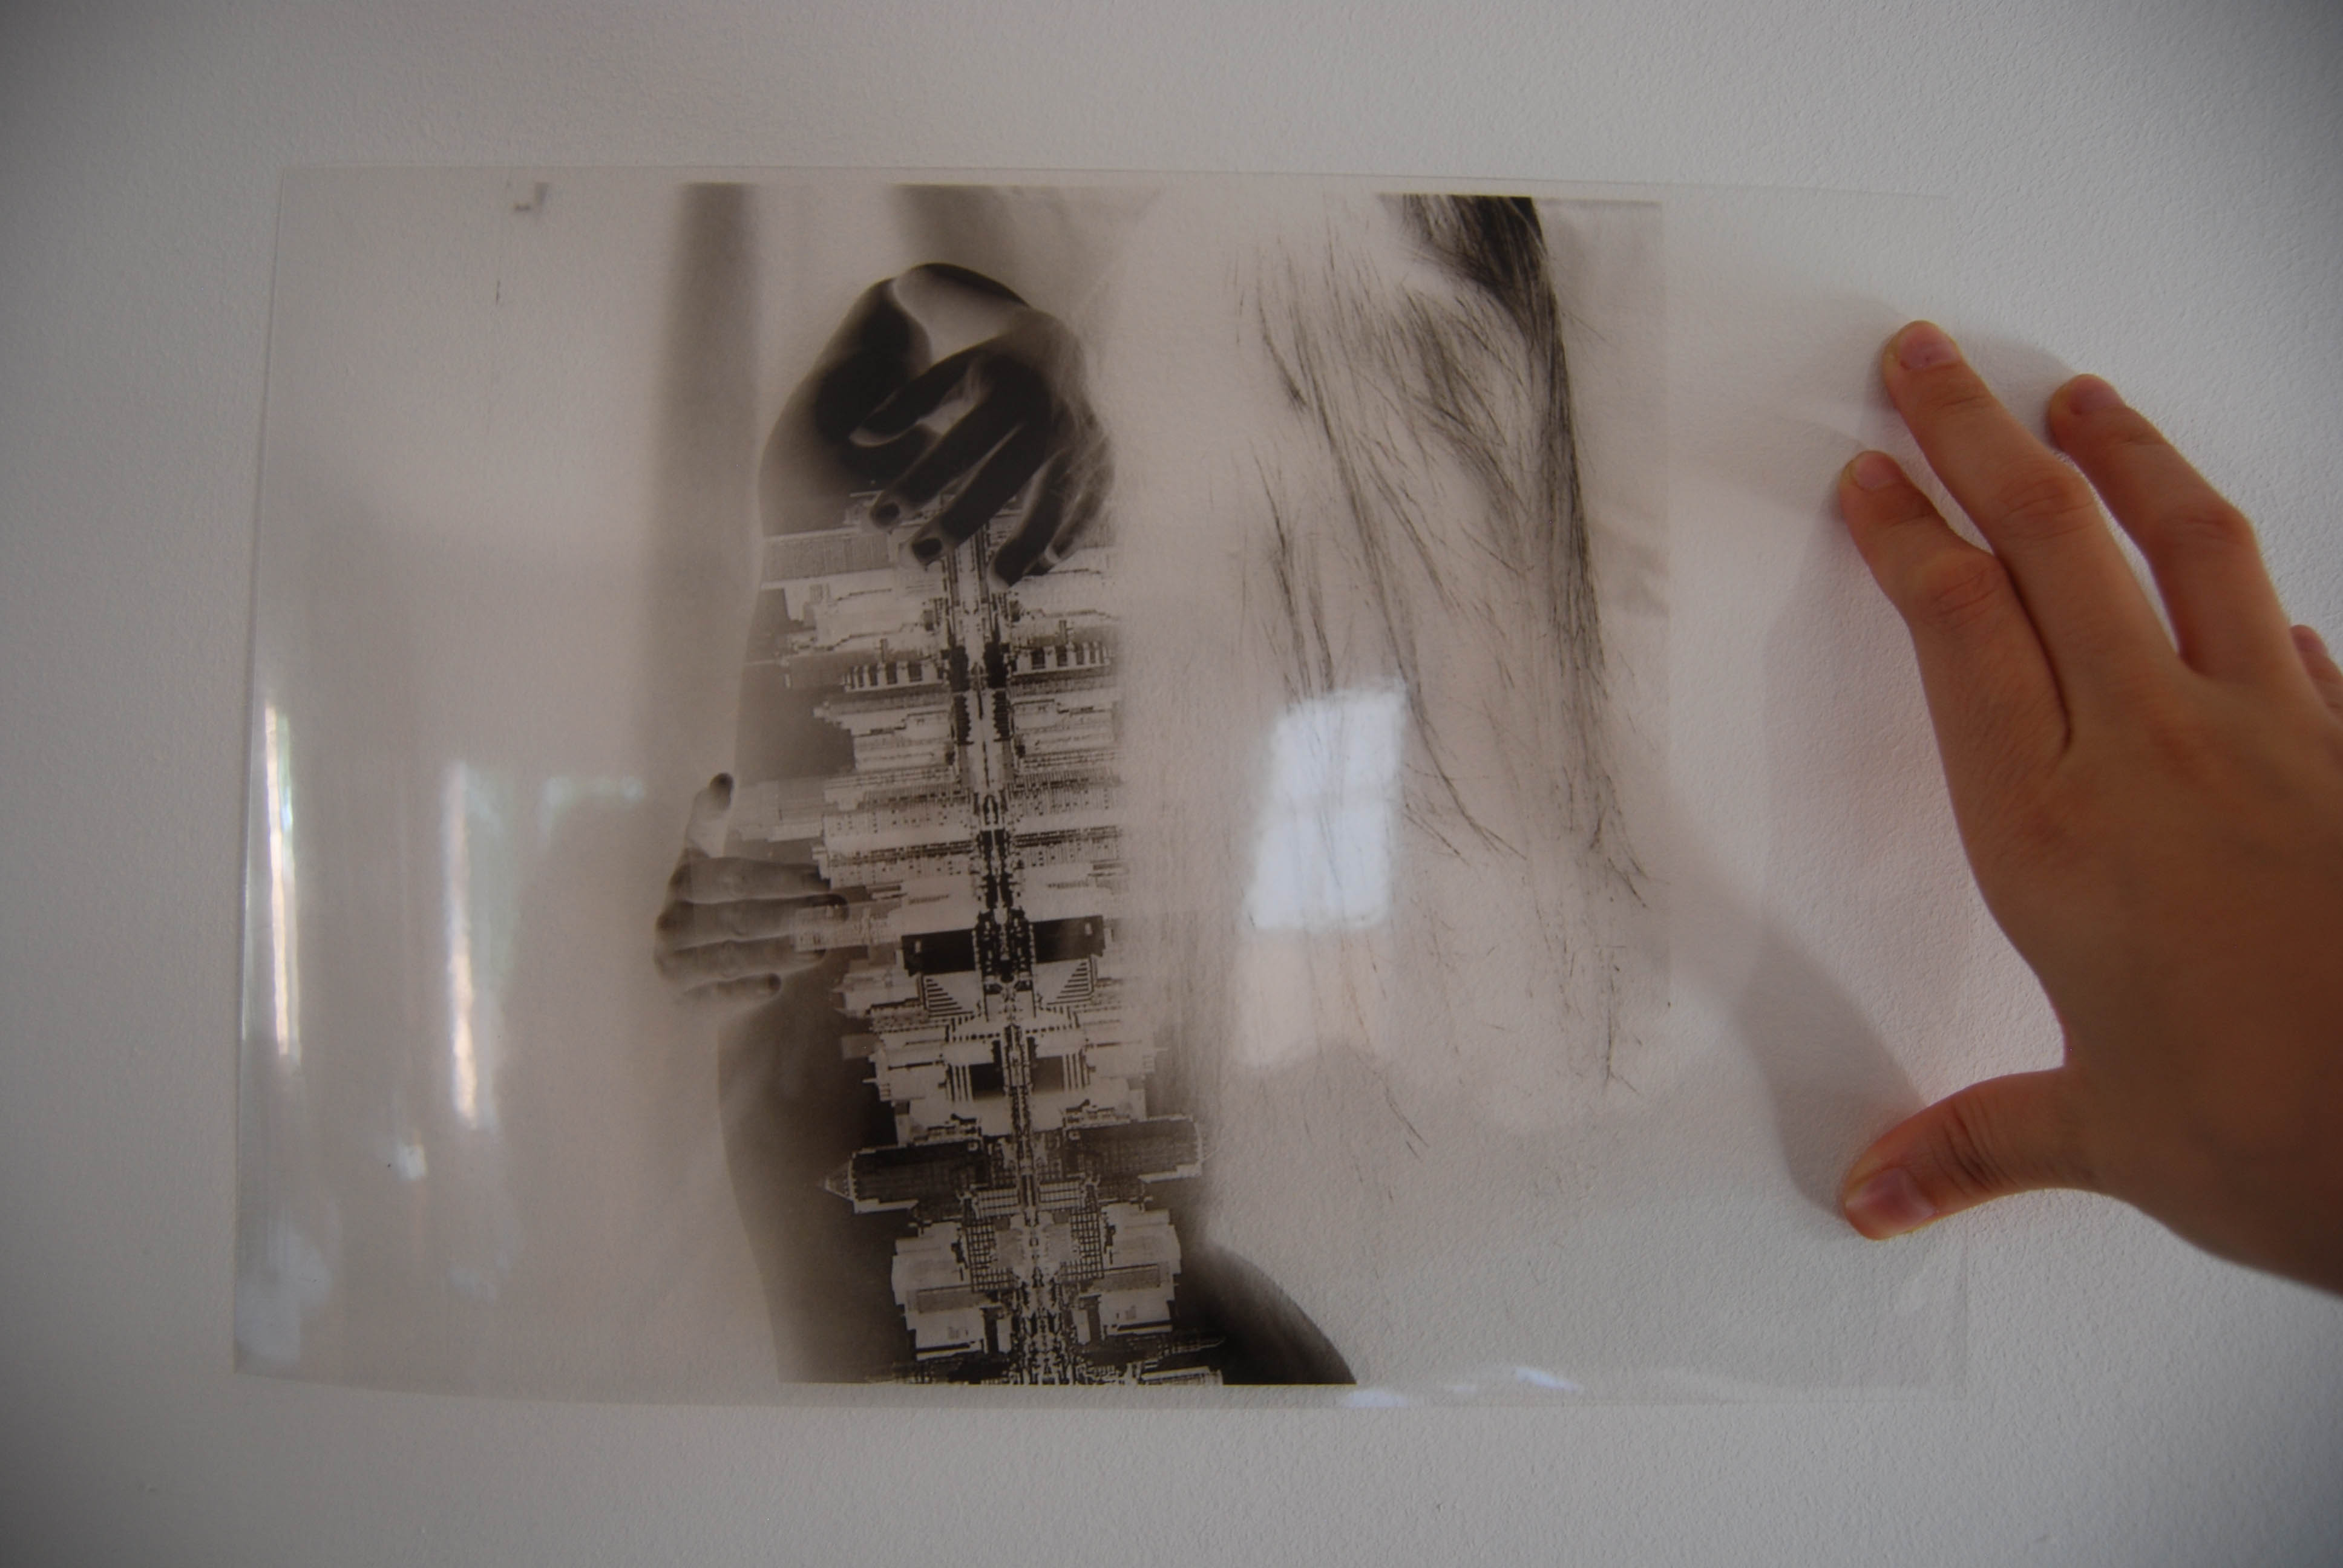
2. Image preparation and print on the acetate paper:
– The image to print on the acetate paper has to be:
Black and white (light greys should be avoided, they can turn to be black)
Negative version
Mirror version of the picture
– Printed image on the acetate paper has to have high contrasts.
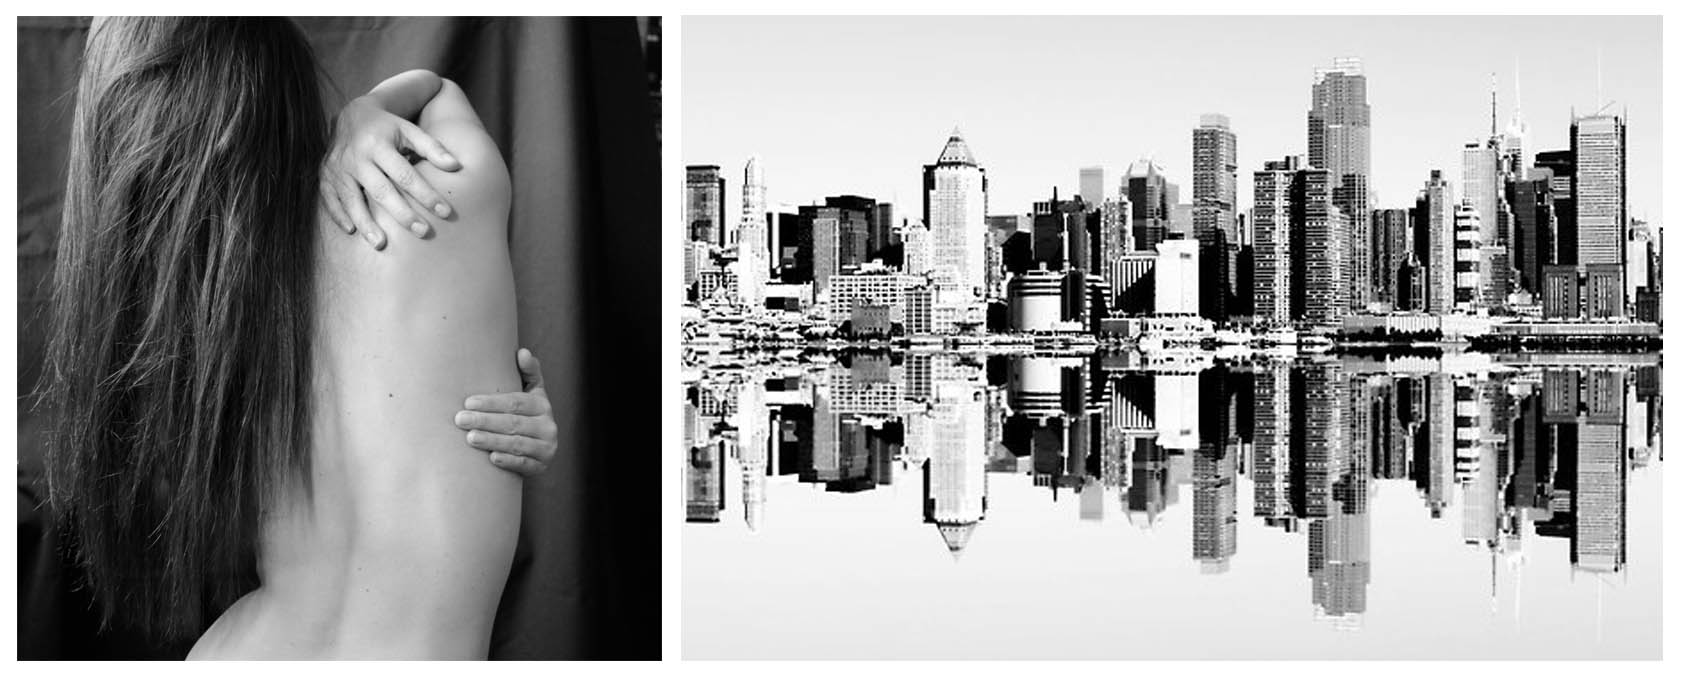
So if we want image on the left as the cyanotype final one, we should print image on the right on the acetate paper.

3. Prepare the room, put everything in order:
– Use a special room such as a basement where there is NO light coming in (this will ruin the chemicals before even starting)
– Place the working table higher than the light to minimize exposure. (My working table is the black block on the left)
– Cover the table with newspaper in order not to ruin it.
– You won’t be seeing much so make sure to place one chemical to the left and the other to the right. Same with the eye droppers. (NEVER mix)
4. Process indoors:
– Mix chemicals evenly: 50% of Solution A and 50% of Solution B. If it is fabric you’ll need about two times each eye dropper.
– Use the plastic box the size of the print as a “small table” to keep the fabric separated from the newspapers. (If not it could get stuck)
– Extend solution evenly with the brush on the fabric. Don’t soak it too much, it will look very dark.
– Mark with a pen the side where you put the solution. Image won’t show up on the other side.
– Let it dry for 1 hour. If you want to make the process quicker use a hairdryer on the cool mode.
– You will know it’s dry if it feels a little bit harsh.
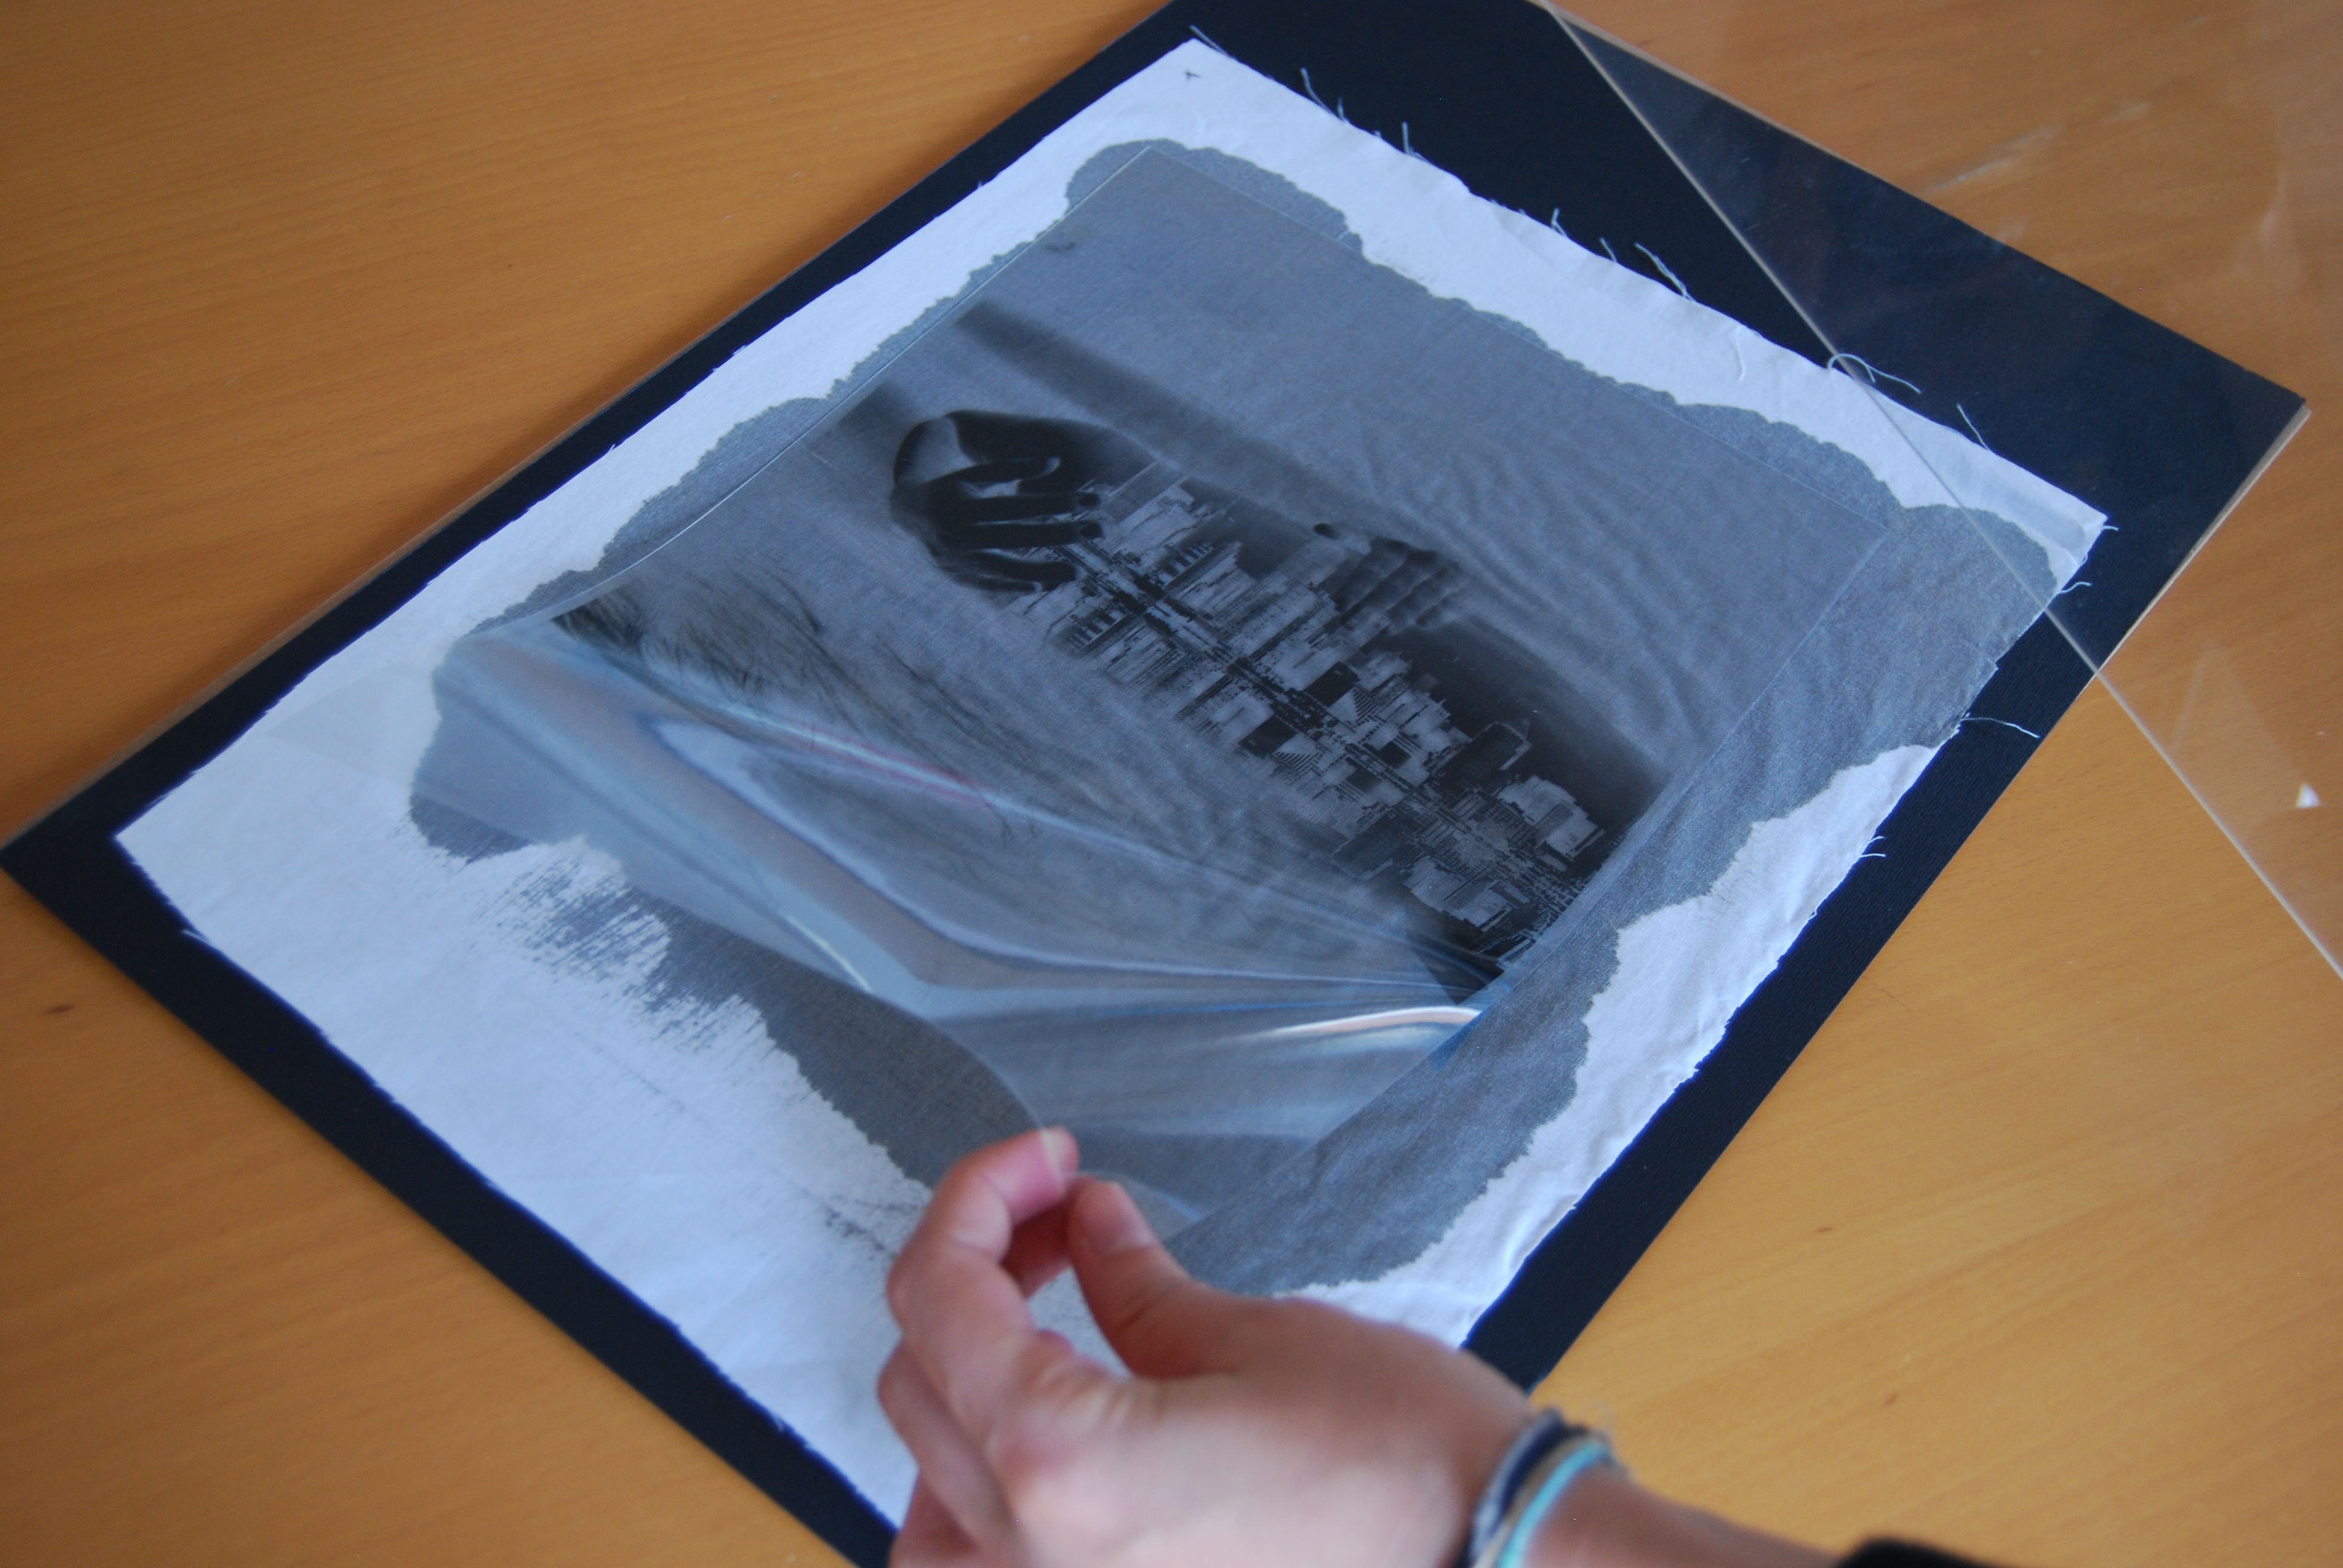
– Place layers in this order: chipboard + fabric (on the side we painted) + acetate paper (the final way we want to see it) + glass
– Use tweezers to better attach the pieces together.
5. Process outdoors:
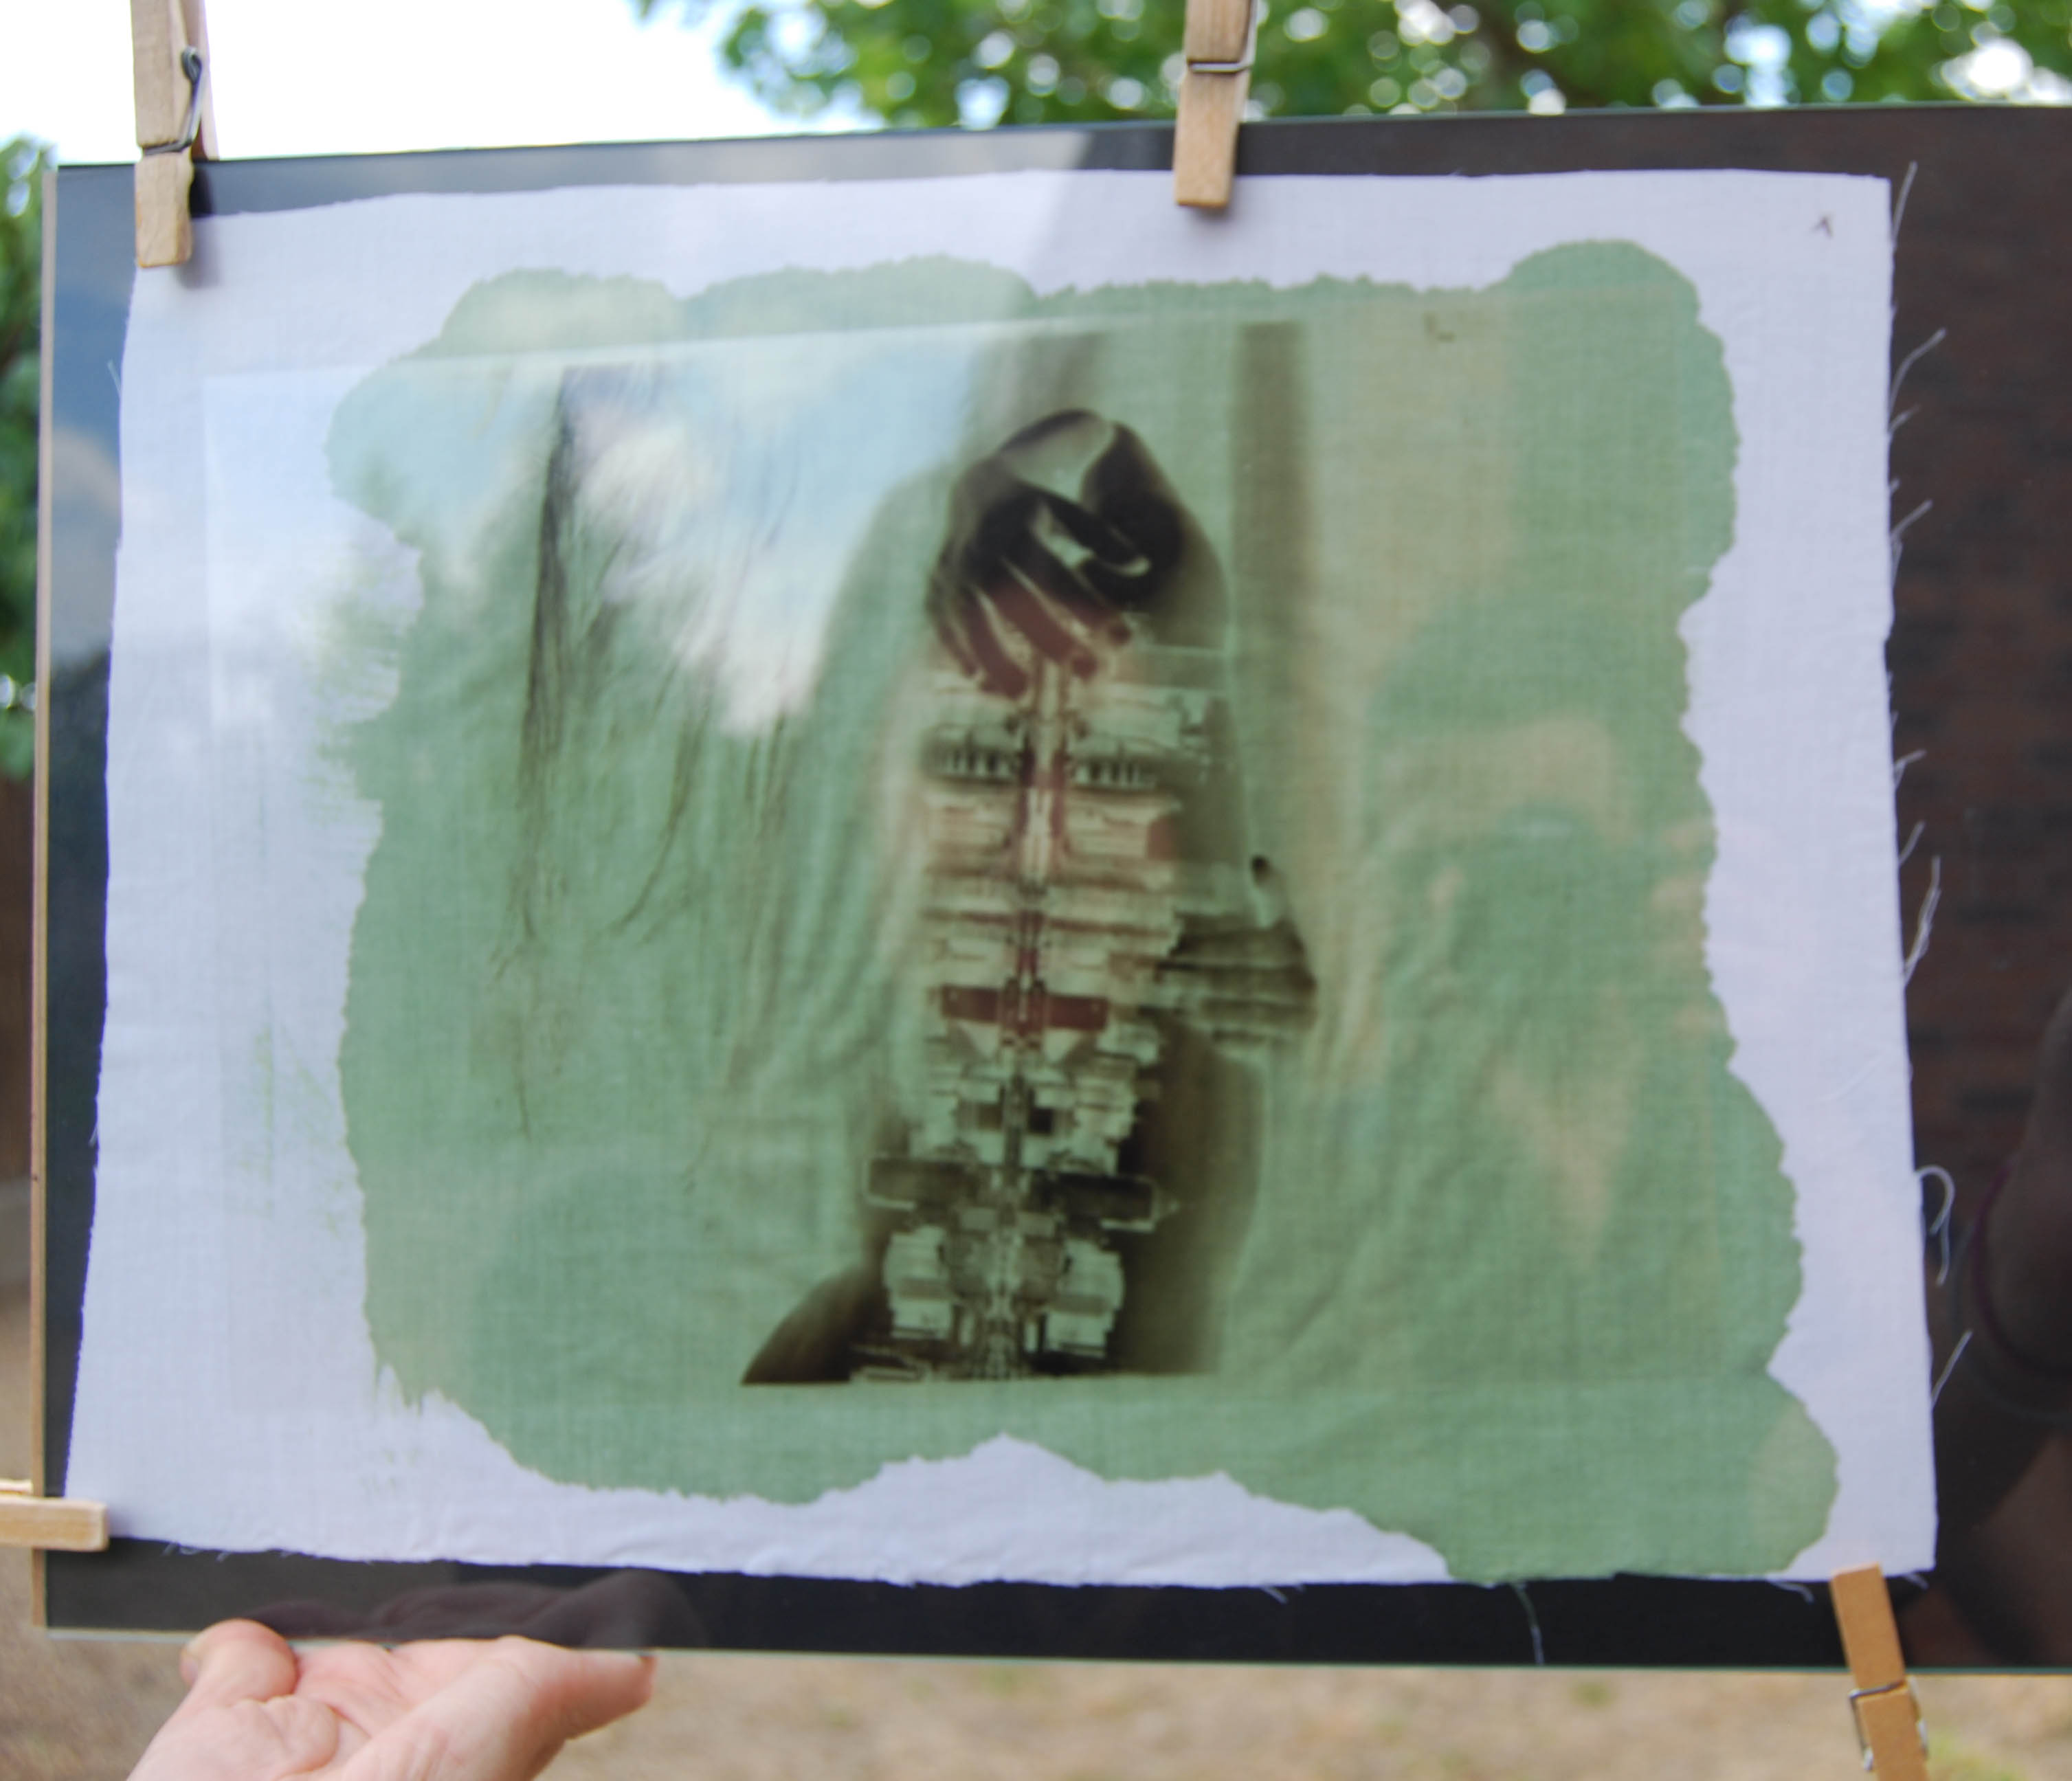
– When coming outside, the color of the print should be dark green.
– Expose the print to sunlight for 20-25 min. (It will be ready when it’s dark blue- grey)
– If there is not much sun that day it can take up to 2 hr.
– Remove glass and acetate paper.
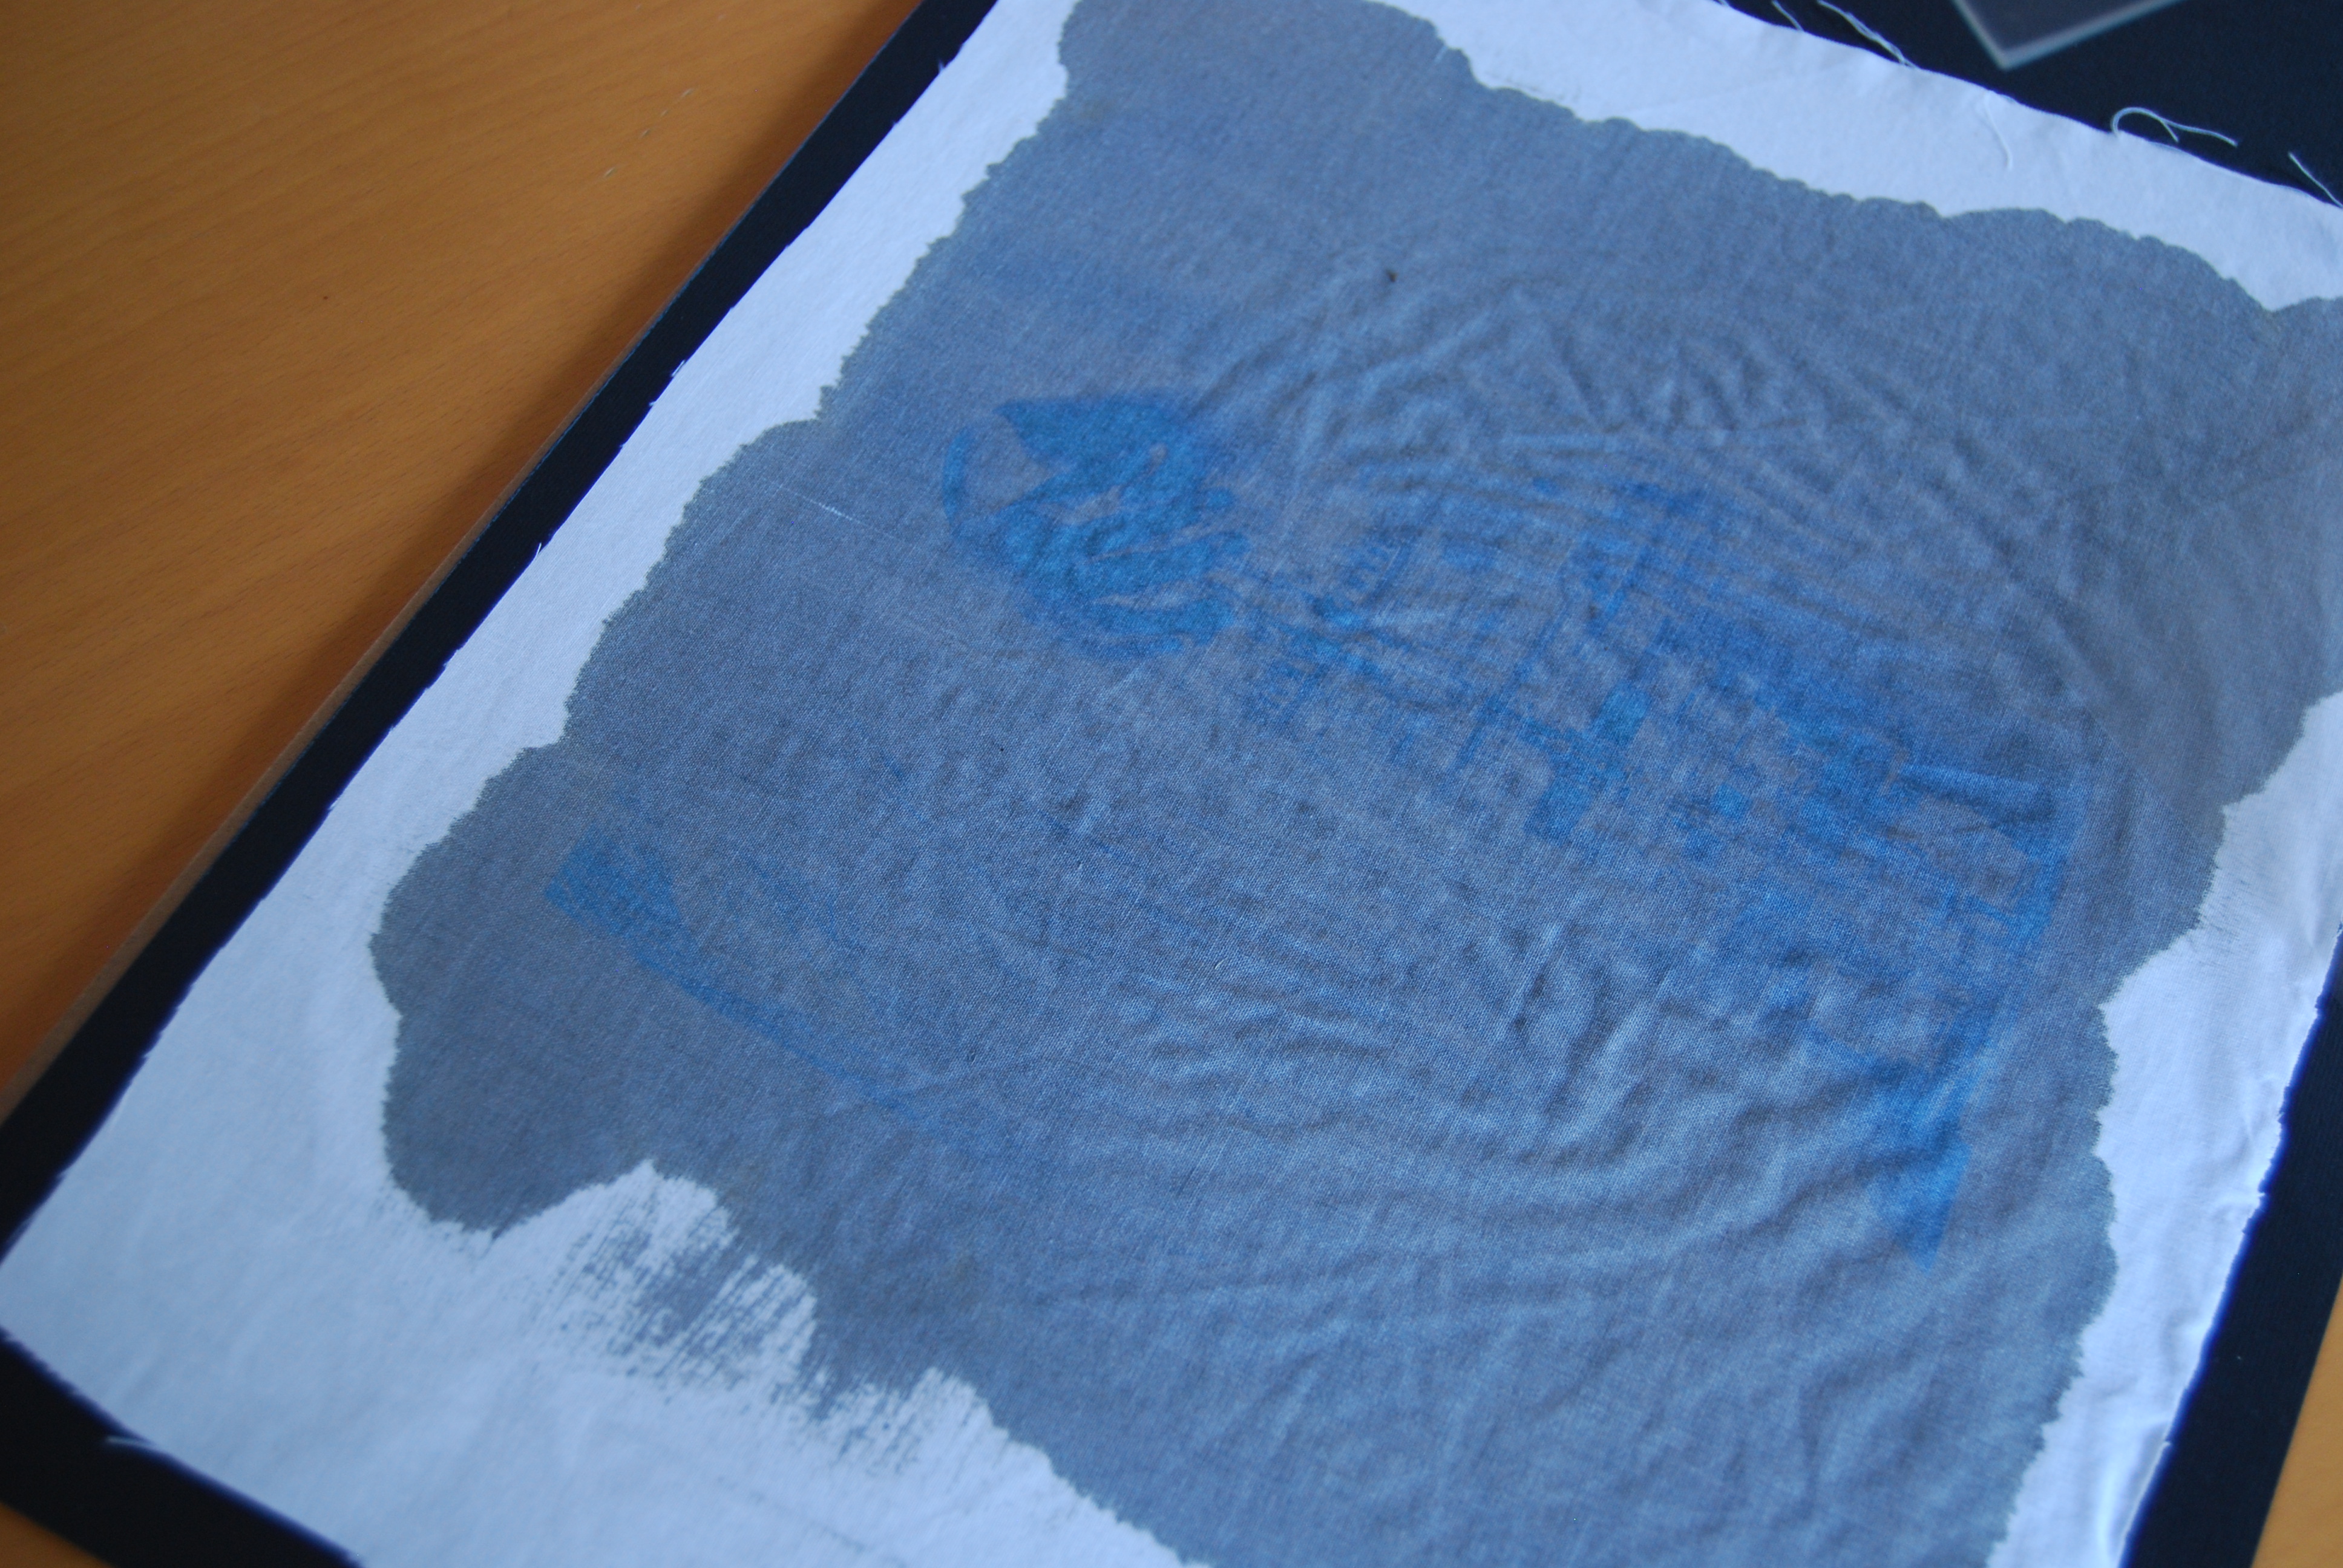
 – Fabric print should look like this.
– Clean print in the plastic box we used as a table before with water.
– Change water several times until green color disappears.
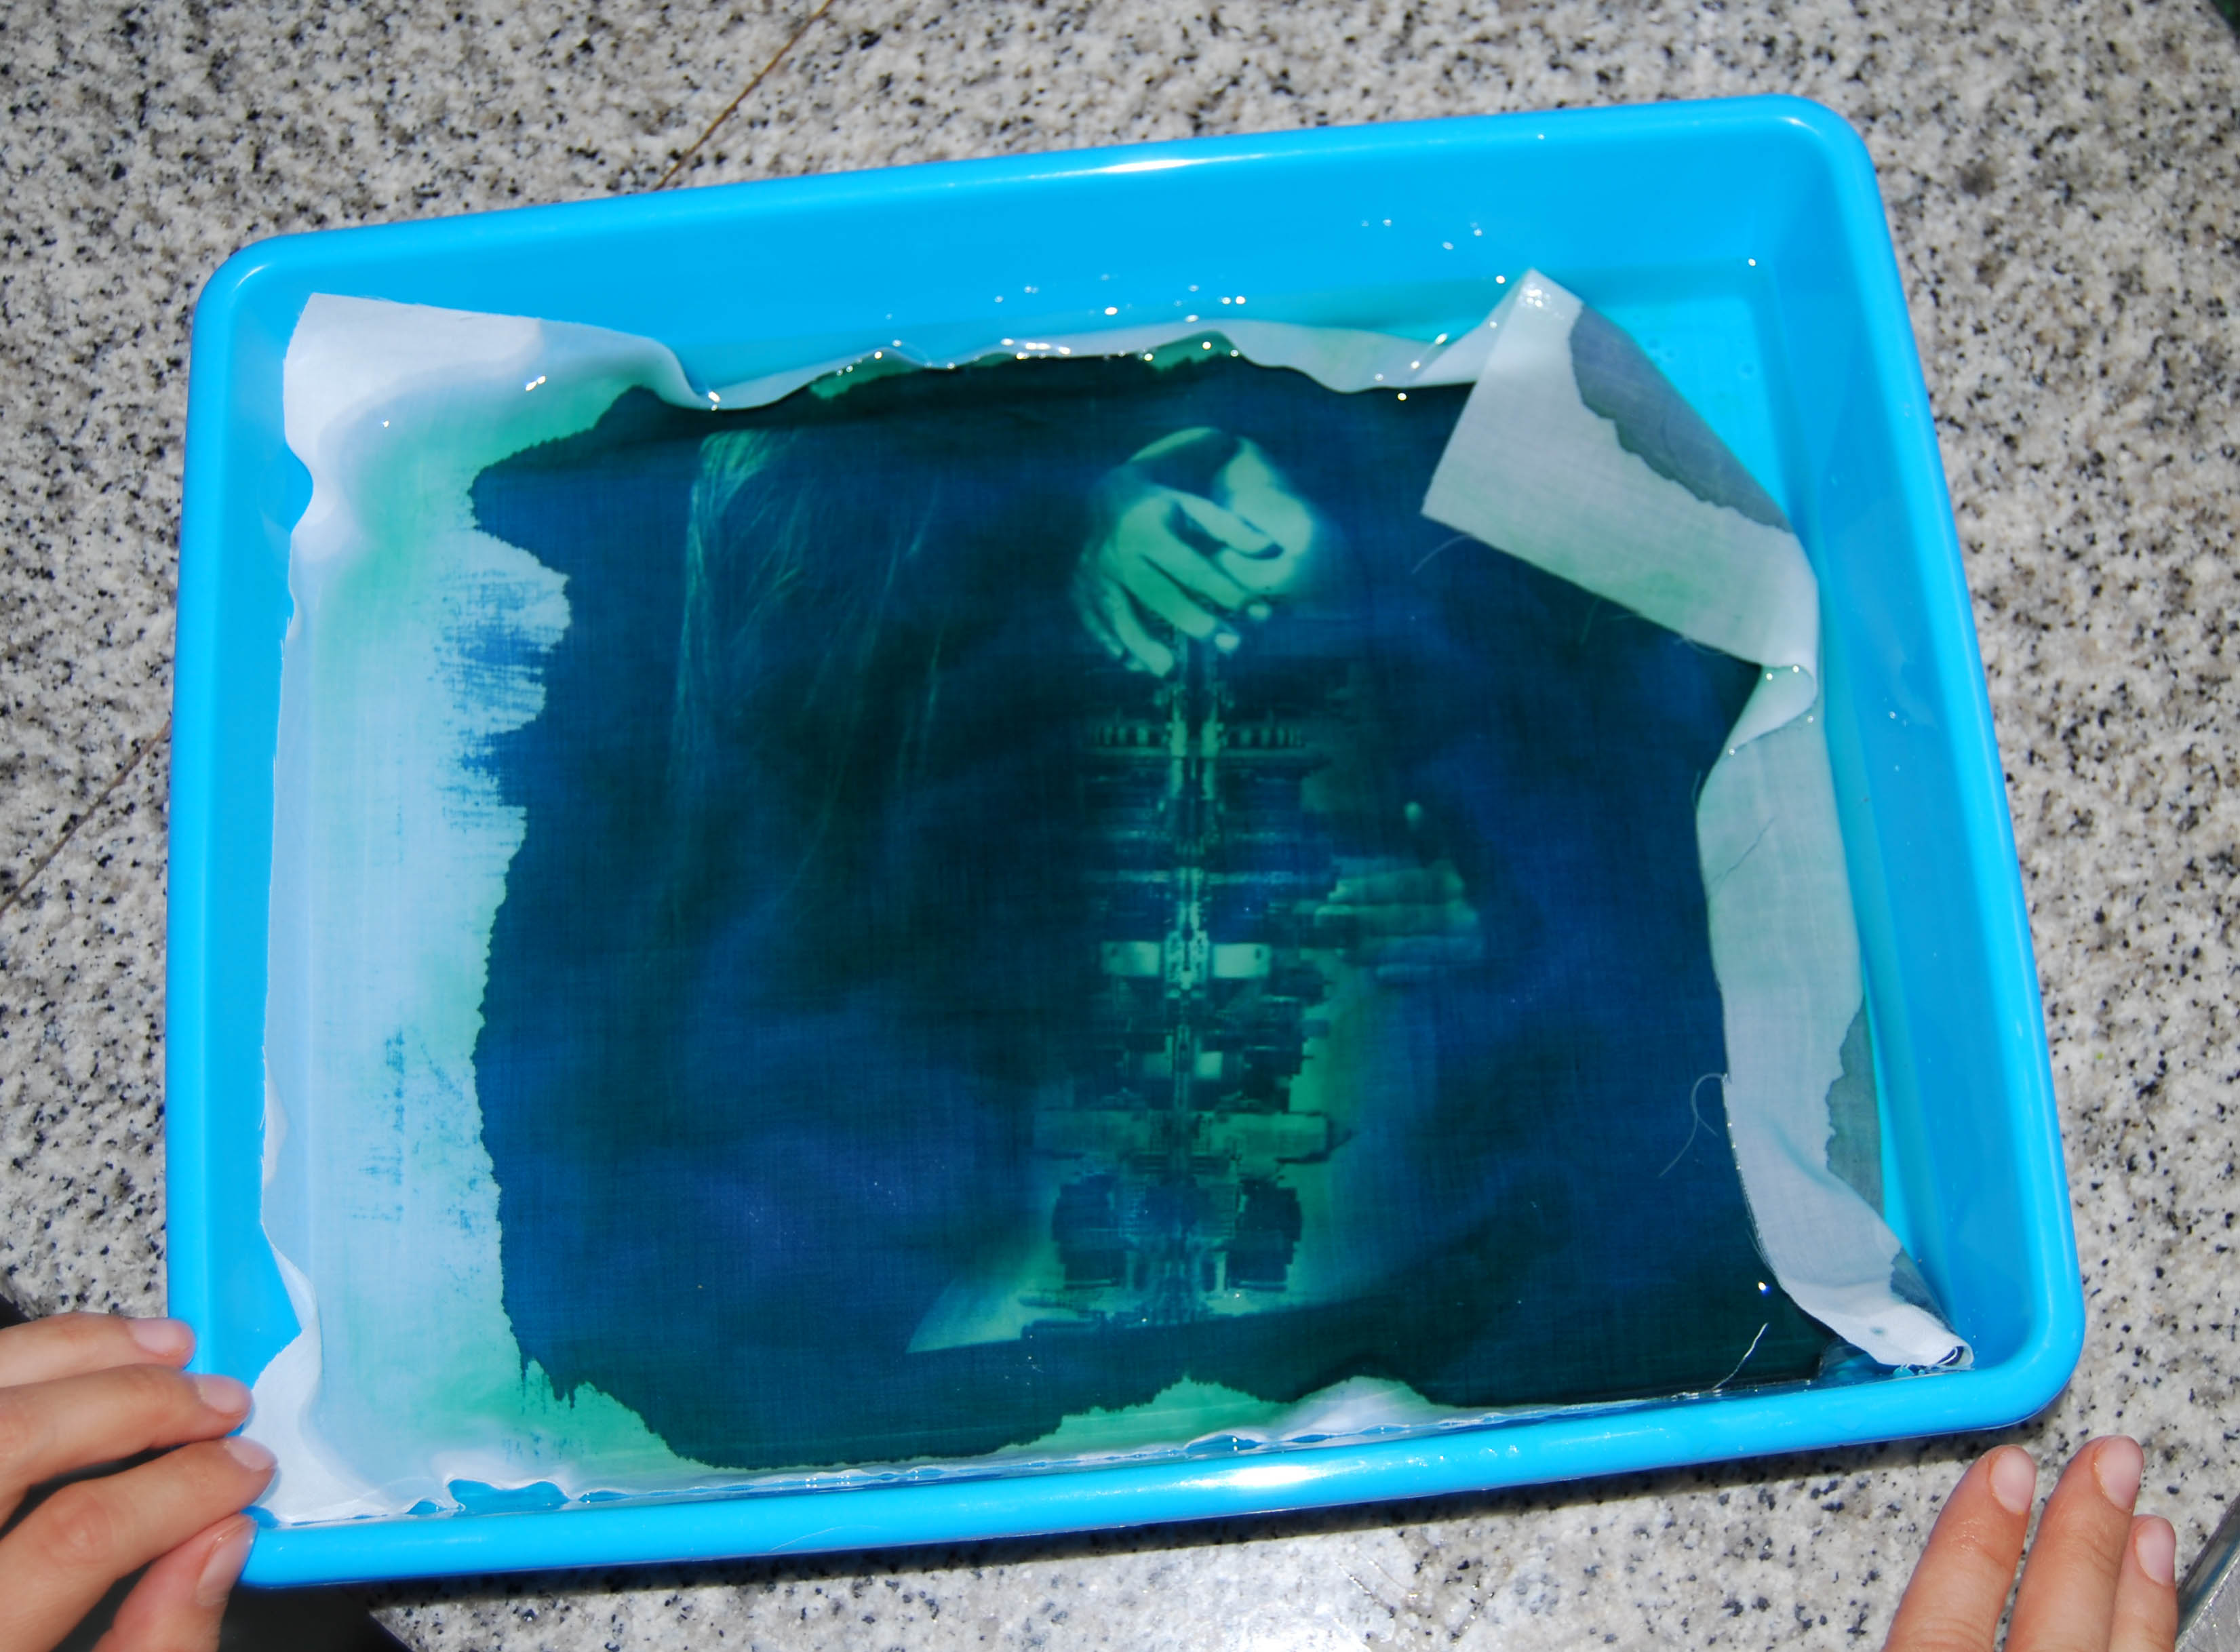
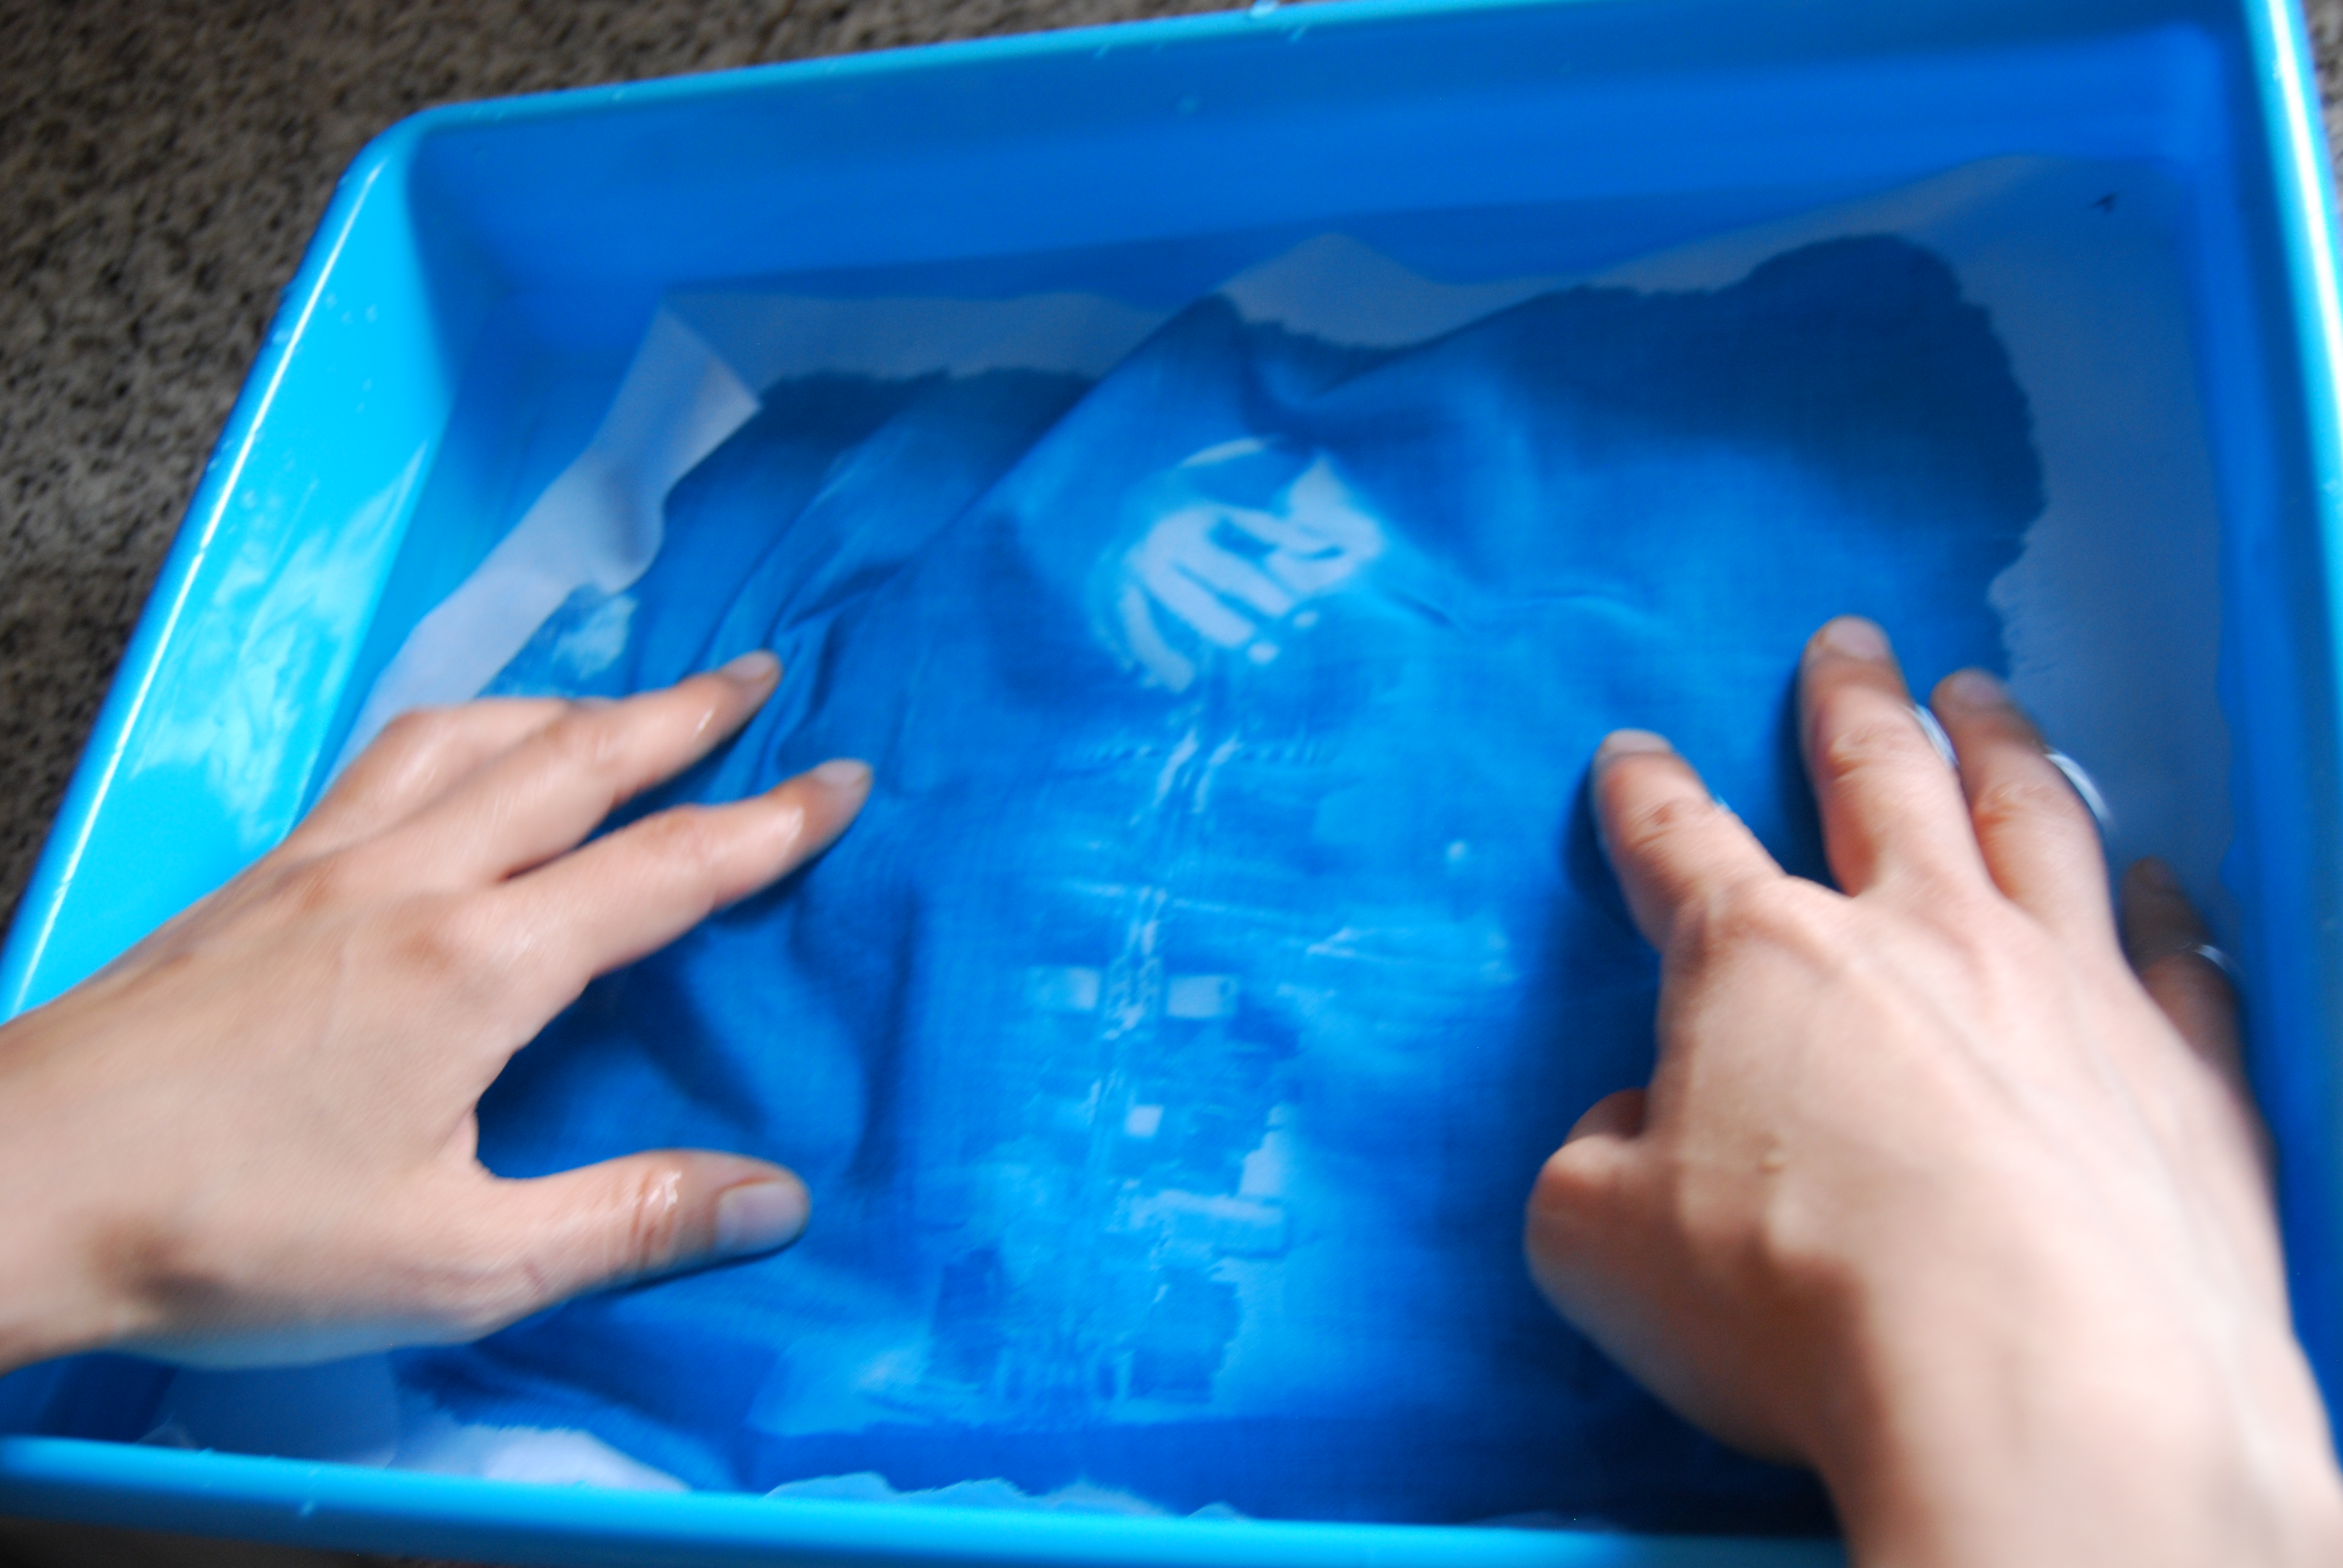
– Cleaning process should be no less than 5 min.
– Let fabric dry (never under sun exposure).
– DONE!
Note:
To get more creative results, Photoshop can be very handy. Varying contrast or mixing images is easier and takes less time. For this image I used a normal studio shot of myself and a skyline image of NY. Then I put them together and made some contrast variations.
Learn how to make an Animated GIF on Photoshop


Amazing! I love the result on fabric, the texture adds to the picture quality I think. And yes, the creative result is well worth the effort, I believe.
LikeLike
I also love the flexibility of the fabric (yo can move it, fold it etc.) and its added texture value. The result is never what you think it was going to be but that is not necessarily a bad thing, is it? 🙂
LikeLike
You are introducing me to a whole new world of photography…thank you.
LikeLike
You’ll love this technique as much as you love photography. It brings so many possibilities on photography exploration. Thanks for stopping by Laurie 🙂
LikeLike
I can’t wait to try this… thank you!
LikeLike
Would love to see a post about your prints!
LikeLike
Great image, the process seems a little bit complex but the result on a fabric look great.
A title for your image could be”Spinal column”.
LikeLike
The process takes some time indeed but it’s rewarding! I like that title very much “Spinal Column” or “Spinal Skyline” as well. Thanks so much Gaston 🙂
LikeLike
I love cyanotype prints. Fascinating to see how it is actually done. A title; I like Juditon’s Spinal Column. But maybe there is Inner City or Structural Integrity.
LikeLike
Hi, I’ve nominated you for the “Shine On” Award! http://18yearsyoung.wordpress.com/2013/06/11/chapter-258-shine/ Have a great day! xxoo
LikeLike
Pingback: How To Create an Animated GIF on Photoshop | Virginia Duran
Pingback: Surreal Photography: Chema Madoz | Virginia Duran
Pingback: Design: Handmade Christmas Postcards | Virginia Duran
Pingback: 21 Inspirational Working Spaces | Virginia Duran